
I've started another big project... A granny square blanket. Believe it or not, I've never actually made anything out of granny squares before. When I first started to learn crochet, I began with a granny square, as many people do. I followed the instructions in the book I have, but my granny square was baggy and loose. I was so disappointed that I gave up, threw it in the bin, and vowed that I would stick to kniting. Now, a couple of years later I have decided to face my nemisis. This time, I'm ignoring the instructions and doing it my way (have you got Sinatra singing in your head now too???).

Here goes...
Start with a Paul Daniels (aka a magic circle or magic loop) - don't you just hate it when you follow a pattern and end up with a great big hole at the centre of your work? Well, starting with a magic circle means you close the hole completely and have a nice neat start. I've written about the magic circle start in my flower tutorial - if you need the instructions, have a look here.

Another little pet hate of mine is being able to see those chain starts, so I hide mine by making the chain the middle stitch of the cluster. Make sense? Well, follow me...
Do your chain 2 and one treble. That will become a cluster at the end. We want 4 clusters to begin our square, and we want 4 corners. I like a 2 chain corner - it keeps your work nice and tight. Don't want baggies do we? So do 2 chain (corner), 3 trebles, 2 chain (corner), 3 trebles, 2 chain (corner), 3 trebles, 2 chain (corner), and 1 treble that will complete our first cluster, which right now only has 2 stitches, remember?


Keep making a cluster, 2chain (corner) cluster in all the corner spaces - make sure you count your corners, you want 4 corners! I know, it sounds obvious since we are making a square, but it's better to check now that find you're making a pentagon on the final round. I know, I've been there, and done it! Counting isn't my strong point ;-)
When you get to the last corner (or first corner - depending on how you look at it) you need to do one more treble to finish off that cluster. Remember we are hiding the chain start in the middle of the cluster? This feels a bit clumsy as you do it, but honestly, it turns out good.
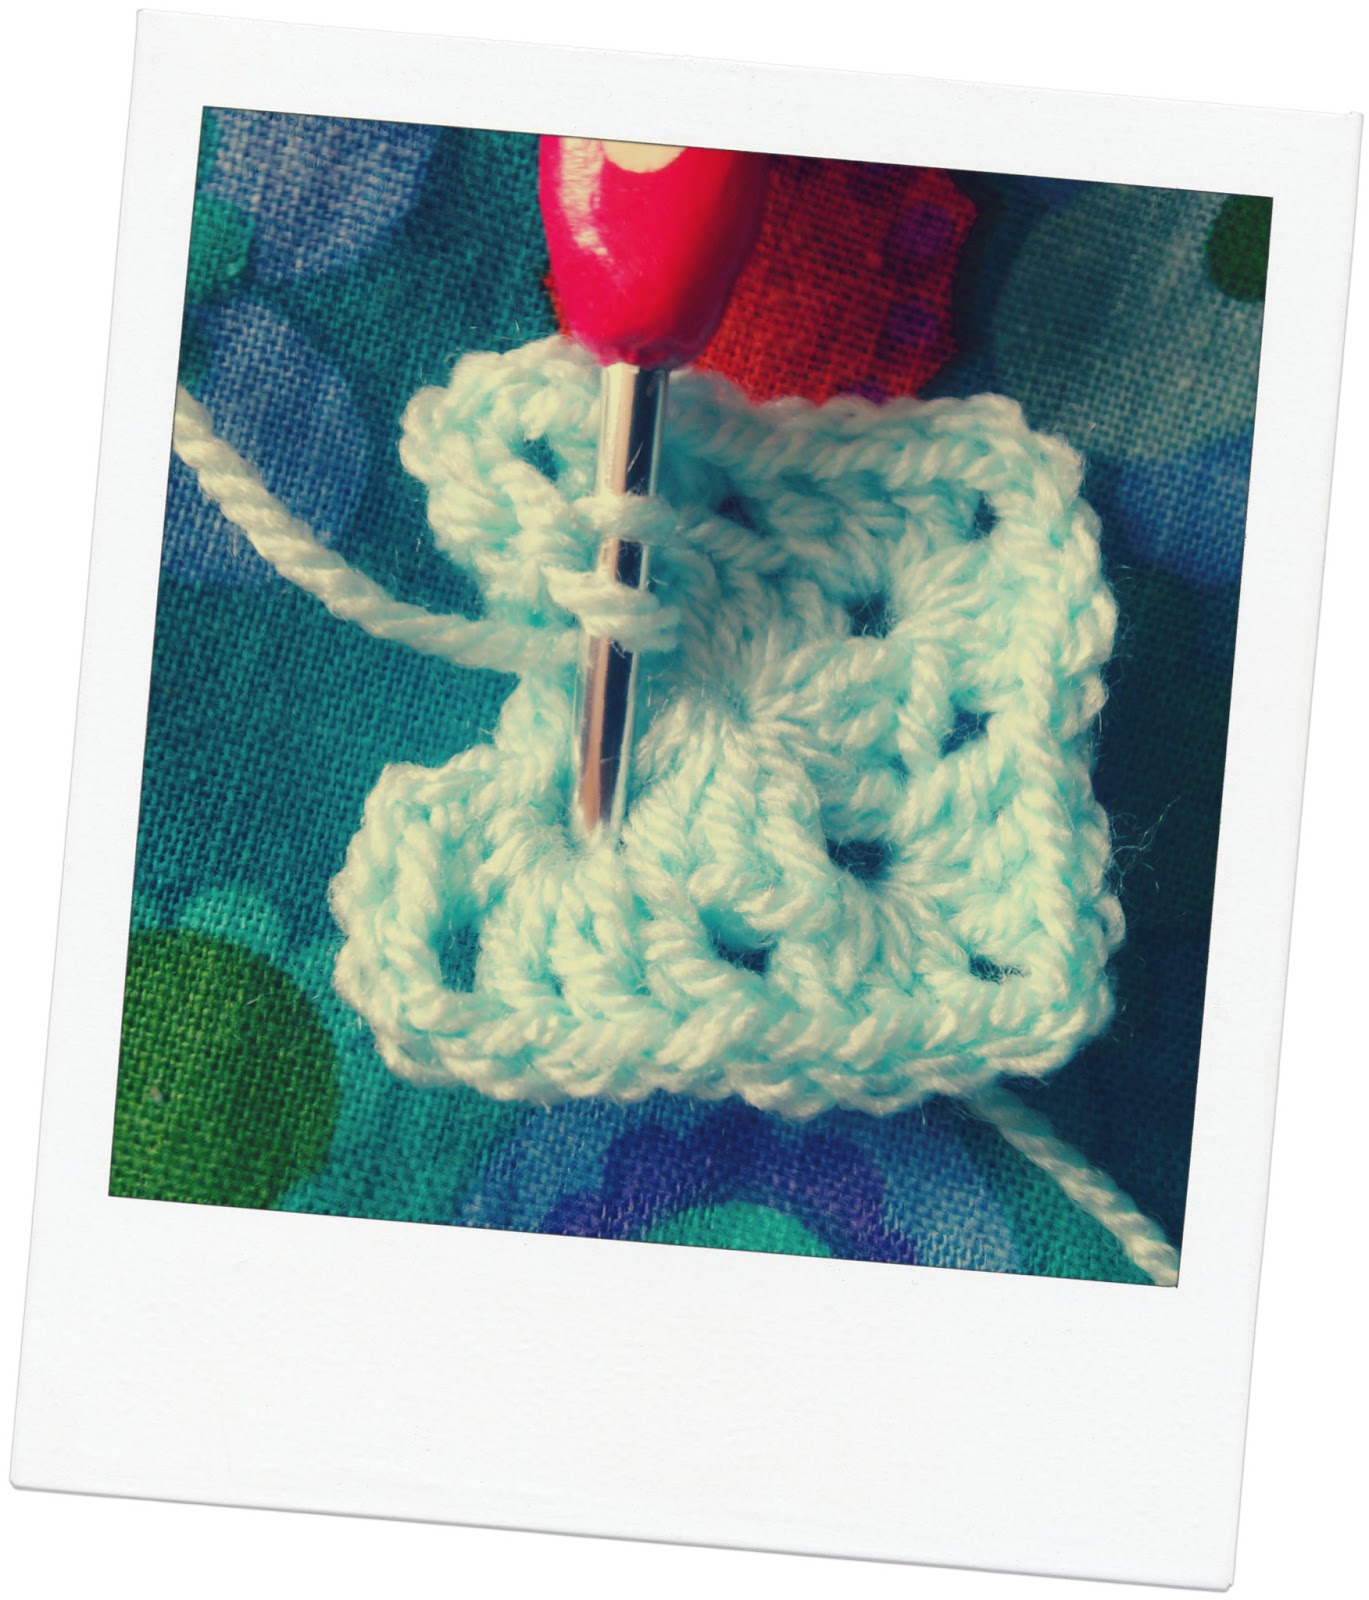
Slip stitch into the top of your starting chains and slip stitch into the corner space again ready for round three.


Remember we didn't do a chain inbetween our clusters on the previous round? But there is a little gap between them just the same. Now we will work into that gap to make a cluster.

Oops - not a very clear photo!

Now we need to make a cluster, corner, cluster in the chain space of the corner.
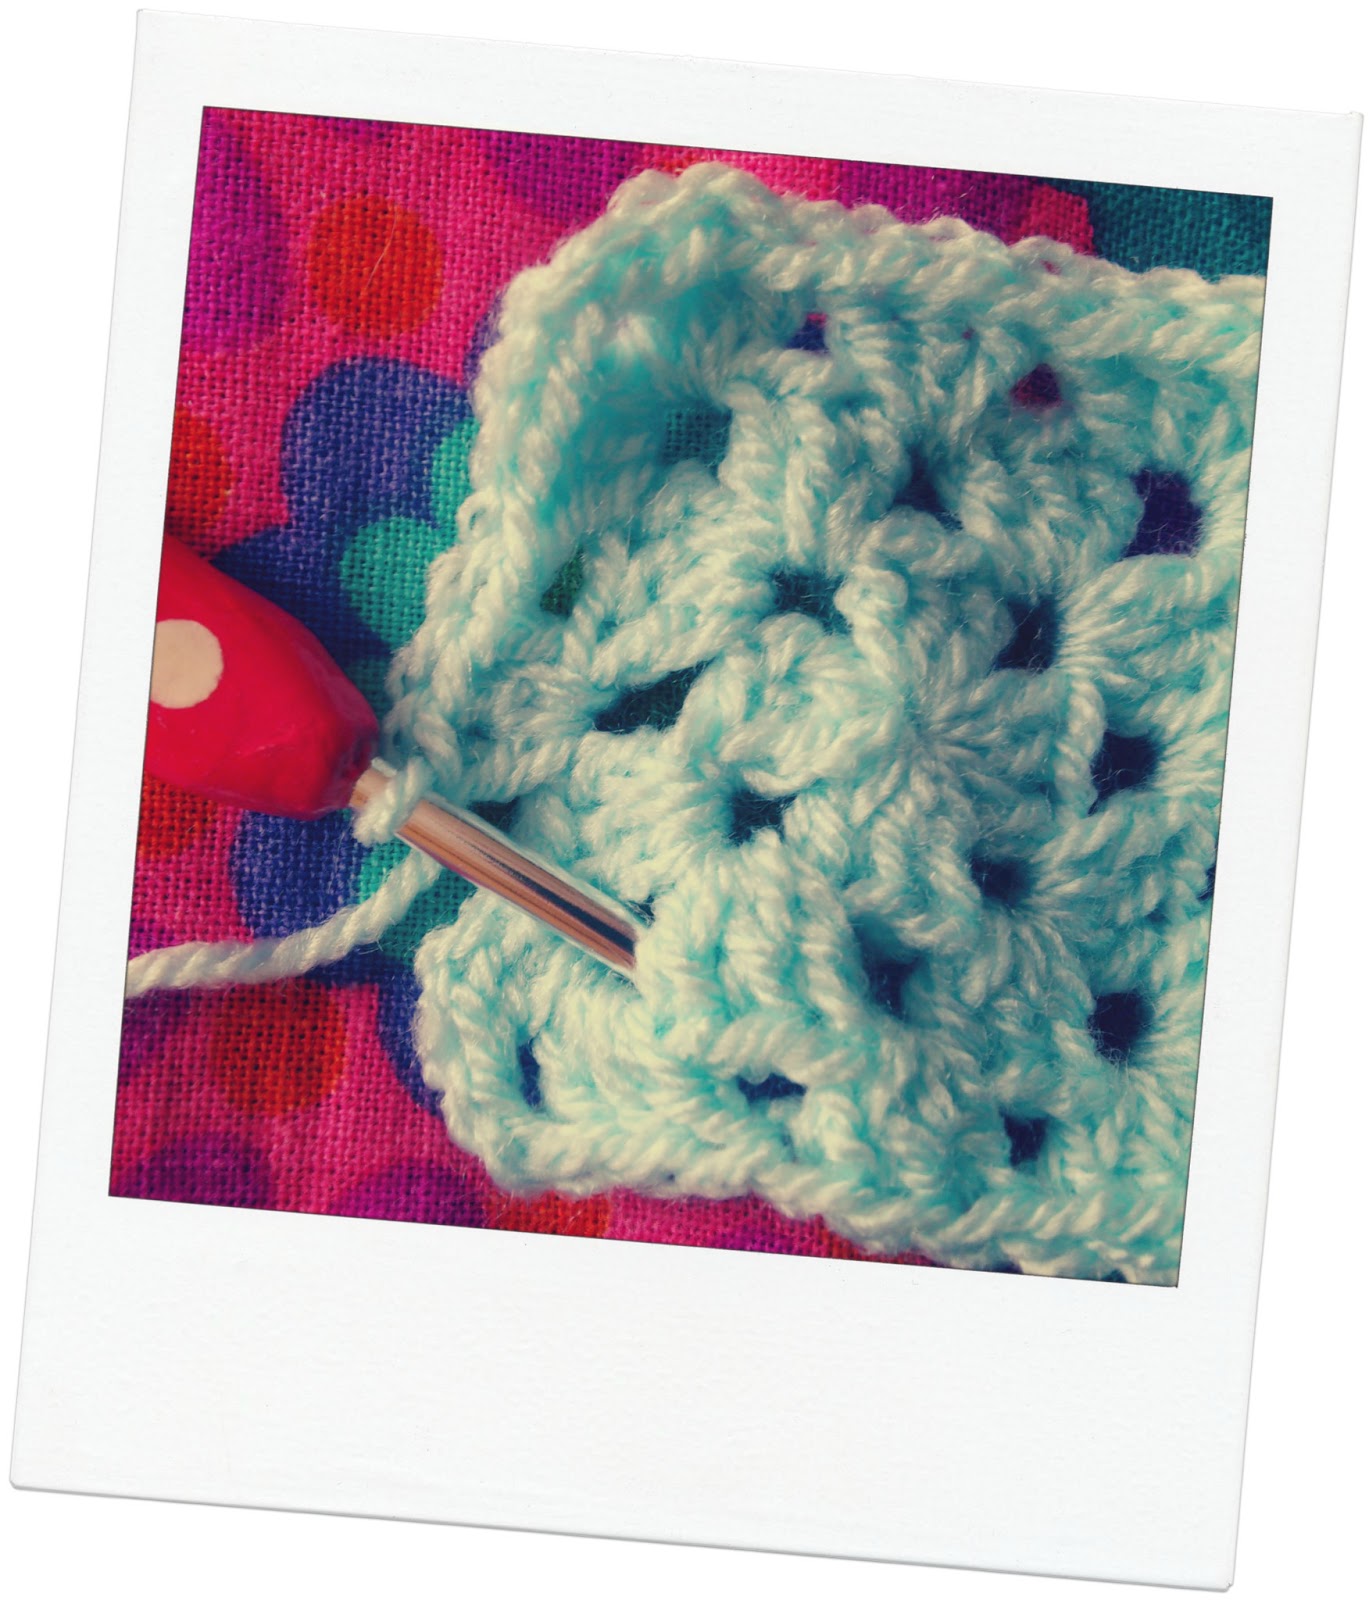

Slip stitch across into your next corner space, and repeat round three, adding a cluster in every space between clusters on the previous round. You've got the beginnings of a granny square!


Now to finish off the square we need to sew in our ends. Since this is going to make a blanket, I will sew in my ends really securely, because this finished blanket will no doubt be going through the washing machine fairly often. And remember, since this is a blanket, it's quite possible people will see the back as well as the front of it, so make your sewing in nice and neat. So stitch into the back of your stitches - make sure you don't got right through to the front, you want to sew into the middle of the stitches or else you'll see your sewing on the front. Stitch back and forth a few times before you cut off your thread as close to your work as possible. Do be careful though, you don't want to accidentally cut a crochet stitch.


It's a horrible job to do, but if you sew in your ends as you go, you won't have a billion of the damn things at the end of your project. For me, that is the kiss of death on any project - it makes me weep. If I'm faced with 225 squares with ends to sew in, it will stay in my basket forever and never get finished. I've learned that lesson the hard way!
There's a certain satisfaction in being able to look at your square from front or back and seeing lovely neat work.
The back


So, now you know how to make a non-baggy granny. Now to make another 224 of them. Eeeek! It's going to be gorgeous though. Just need to keep saying that to myself!
I will be working on this blanket until Christmas I think. But it's a pattern that with practice you can do while you watch the TV or a movie - I can even watch my favourite foreign movies with subtitles while I make my grannies now. That's my kind of project :-)
Hope you have a go too - let me know how it turns out. If a blanket seems a bit too daunting, the granny squares can make a lovely cushion cover - you could do just one big granny cover or a patchwork of smaller ones. Hmmm... I think I like that idea ;-)
I love to hear your comments about my work, I read them all and try and reply as soon as possible to any queries. Happy hooking :-)
And finally, before I go, I'd like to credit the source of my fab background fabric in all the pics - it's a brilliant piece of retro fabric from my friend at Rainbow Vintage Fabrics. Have a look and see what yummy fabulousness they have.
NOW she tells me! I have about 2 dozen really loose granny squares - it's one of the first things I learned how to do. I'm not sure if I'll ever finish them up & turn them into anything (I was thinking a cover to go over our blanket, so loose is ok).
ReplyDeleteOopsie :-)
ReplyDelete